Nov 30, 2010

Tinkerbell Birthday Party

Hey everyone!  I hope you all had a great Thanksgiving!
On to the post . . .

My daughter just turned four and she requested a Tinkerbell birthday party.  She absolutely LOVED it!!!
{For more Tinkerbell ideas, check out my other Tinkerbell party post!}

Here's what we did.

For the decorations, I stayed with the green, purple and pink theme of Tinkerbell.  I used a purple tablecloth and used some sparkly chartreuse fabric as a table runner (I bought a yard and then tied it in a loose knot in the middle):
{You can kind of see it here}

Then I made some tissue paper pom poms.  They are SO easy and SO cute!  You can find a tutorial from Martha Stewart:
 The pom poms are now hanging in my daughter's room.  So cute.

Here are the invitations I made for the party:

All I did was download a desktop background and used that as the background for the invitation.  So easy!  And I am all about easy.

For the party, I sprinkled "Pixie Dust" on the kids as they came through the door.  I used a glitter brush.

Next, I read a Tinkerbell story to the kids.  Just a short one, I needed to keep their attention!

I had the kids decorate stars that I cut out on the cricut and then they played "Pin the Star on Tinkerbell's Wand."  I drew a wand on a posterboard, blindfolded the kids and they pinned their star on Tinkerbell's wand!
I decided to make Tinkerbell cupcakes.  I was going to make some cupcake toppers, but I found some at Walmart!  WAY easier than making my own!  I made homemade strawberry frosting (so it would be pink!) and sprinkled the cupcakes with "Pixie Dust" {pink sugar sprinkles}:

The party was perfect for my four-year-old!  I have to enjoy the easy parties while I can!

For the party bags, I used my cricut to cut out green flowers.  I wrote each child's name on them and taped them to white lunch sacks.  I punched holes in the tops and tied them with purple and green ribbon.


For the party favors, I bought star wands at the dollar store.  I tied purple and green ribbons to those, too!  I also got little glitter containers at the dollar store.  I used sticker paper, wrote "Pixie Dust" on it, and stuck it to each container.  The rest of the goody bag was candy from the pinata, princess hair clips and earrings and Tinkerbell stickers (all also from the dollar store).  I forgot to take pics of the favors!

Overall, the party was a success!  There were 10 kids in all (way too many - next year, I think I will let my daughter invite three or four of her friends) and my daughter had a great time, which was what was important.

Nov 19, 2010

Thanksgiving Decor Spread

I wanted to show you my Thanksgiving decor!


I like how it turned out this year.  It feels warm and rich to me, just how autumn should feel!


If your house makes you feel happy when you look around, that is how it should be.  


Now, if anyone wants to come work on my master bedroom, I would not say no!  It feels like an overwhelming project right now, one that i don't have time for.  One day, one day . . .

Nov 16, 2010

Burlap Votive Holder

I am so excited about this project!

I almost threw these glass votive holders out a few months ago, then decided I could probably do something with them.


After thinking about it for a while, I finally came up with something!

What do you think?


I {LOVE} how these turned out!


So here's how it went down . . .


I knew I wanted to do something with burlap.

And I {LOVE} damask.

So I decided to put the two together!


I measured and cut the burlap to fit around the glass:


Then I used spray glue to adhere the burlap to the glass:


I cut the excess burlap on top and bottom w/ scissors so it was flush with the glass.

Next I cut my damask fabric (I got 1/8 of a yard at JoAnn's and used the 40% off coupon, so I got it for about .30 cents!):


Using the spray glue, I glued the fabric on:


I knew I wanted to add some kind of ribbon, so, yep, you guessed it!  Spray glue!:


I was originally going to glue on a bow out of the same ribbon, but decided to add a little bling!  No spray glue this time - I used a hot glue gun:

Much better than a boring bow!


So now, what to do with these?
You could add candles and use them as votive holders . . .

Or you could do something like this:

. . . and add a little fun to your desk or home office!


Or you could do something like this:

It adds a little pop of color!

These are in my bedroom by some pics of my family for now.
 They add a little bit of fun, color and bling!


Plus, this project only cost me .30 cents since I had everything but the damask fabric on hand!!!

I do love me a fast, thrifty project!


I'll be linking up this project to:


Nov 11, 2010

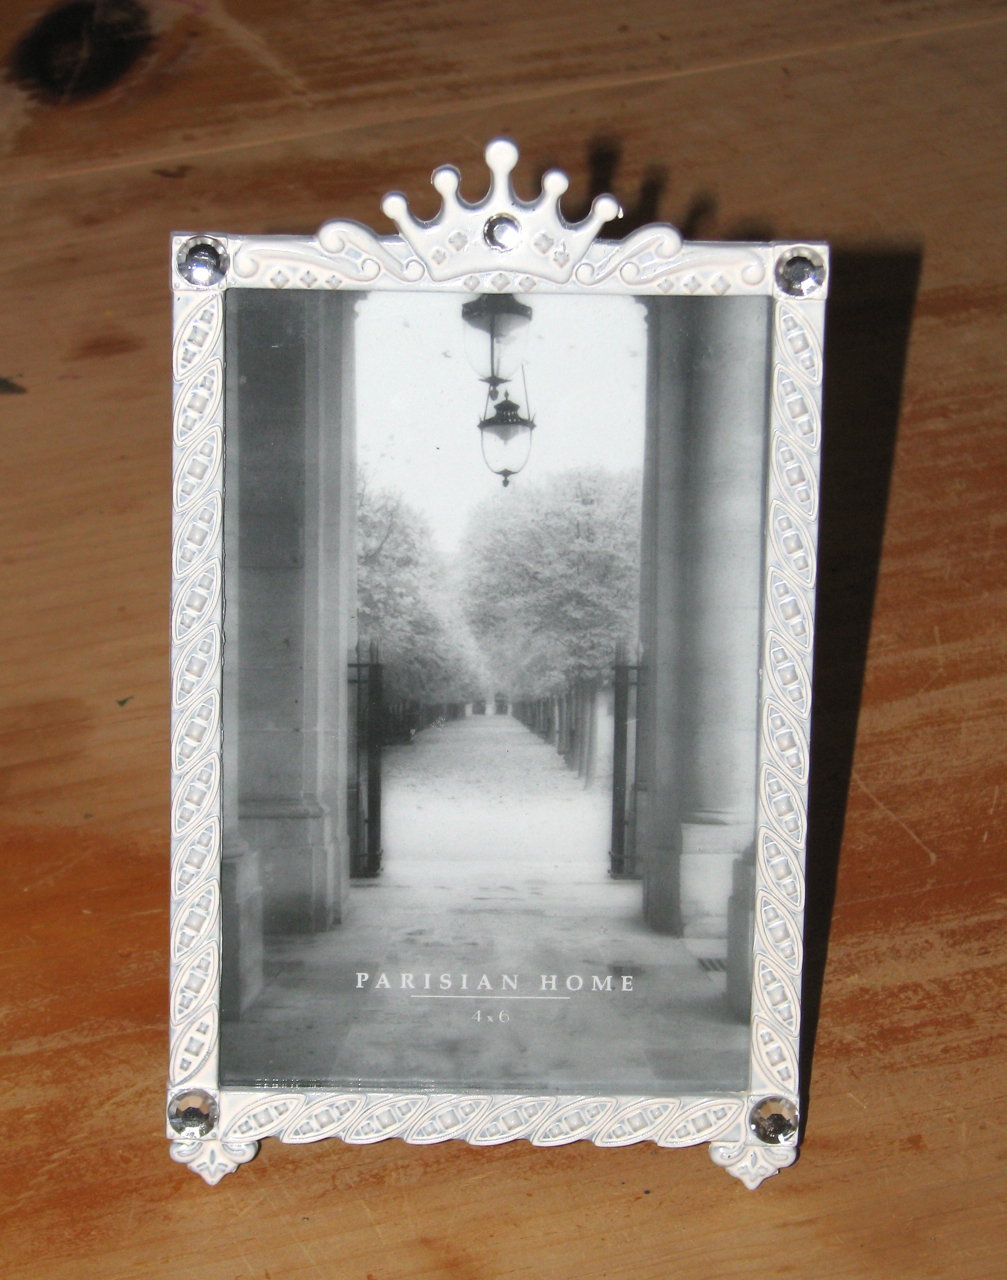
Frame Redo

I found this beauty at the thrift store recently:


I saw potential but knew it needed some changes.


I started by popping off the green rhinestones and adding a little spray paint:


I still wanted a little bling, so I glued some clear rhinestones on:


Much better, dontcha think?  Here are some more views:


I bought it to go in my daughter's room and now it is perfect! 

So cute!

I love finding things at the thrift store and making them like new!


I will be linking up with:


Sumo Sweet Stuff

HookingupwithHoH


Get your craft on Thurs.


Nov 4, 2010

Give Thanks - Free Printable!

 Happy Harvest!
 I've been learning how to use Photoshop Elements.
{Photoshop CS3 is a whole other story!  Someday I'll find the time to sit down and really learn it}

 I don't have many harvest decorations so I wanted to make something fun for the month of November.

I decided to share it with you!


I'm no Photoshop Elements expert, but I like how it turned out.  Feel free to download it and print a copy off for yourself!  And I'd love to see how you display it!
{Just click on the picture and right click to save it to your computer}


I made this wreath last month (I got the idea for the wreath from somebody's blog and CANNOT remember who's!!!  I like to give credit to people when I use their idea's) and wanted to be able to use it through Thanksgiving.  I had a "Trick or Treat" sign hanging in the middle for Halloween.  I needed something Thanksgiving-y for November.

So, I made the image in Photoshop Elements, printed it off at WalMart's 1-hour photo center and went to work to find a frame.  

I found this one that I already had but hadn't been using - I'm pretty sure it's from the dollar store:


It was silver.  I wanted a little bit of color so I spray-painted it a turquoise-ish color (I like the words I'm making up - Thanksgiving-y, turquoise-ish . . .) to match the turquoise in the image.  Krylon Blue Ocean Breeze spray paint, to be exact.


Hmmm . . . it looks baby blue in this pic . . . anywho.  I stapled some brown sheer ribbon to the back and hung it right on my door hanger.  


I love that I can use the same wreath for different holidays just by changing out an accessory!

And yes, I know the picture is in the frame a little crooked.  It was straight when I put it in!


Some more shots:


I love how it turned out!  
It was just what I was looking for.


PS - I made the wreath for about $4.  I got a twig wreath from the dollar store and the fabric from WalMart's dollar bins.  The burlap was probably the most expensive thing about the wreath.  Love it!

PPS -  I downloaded the digital paper for my image from Shabby Princess and the font is from Kevin and Amanda


I will be linking up with:


Sumo Sweet Stuff
Related Posts Plugin for WordPress, Blogger...