
For my first post I wanted to share a super fun, super thrifty project! You may have seen this on my personal blog, but I wanted to re-post it for the new blog.
For my niece's birthday, I wanted to make her something that she would use and love. My husband is in school full-time and we have two kids. In other words, we are not rollin' in the dough. A few months ago, I found some trays at the Dollar Tree that I thought would be perfect to spray paint and put in my three-year-old's play kitchen. I rolled off of that idea and decided to make my niece a magnet board.

What do you think? Super cute, huh?
Well, it's your lucky day because I made a tutorial!
And here it is:
Supplies needed:
- Dollar store tray
- Primer (optional)
- Spray paint
- Mod Podge
- Scrapbook paper
- Glass rocks
- Magnets
- Easel
And here it is:
Supplies needed:
- Dollar store tray
- Primer (optional)
- Spray paint
- Mod Podge
- Scrapbook paper
- Glass rocks
- Magnets
- Easel
1) This is what the tray looks like (you can find it in the bridal section):

2) I primed it first - just the outer section. When I spray painted the first one (the play tray I did for my daughter) the paint didn't go on so well, so I decided to prime it this time (it could have been a faulty spray valve, but I didn't want to take the chance!):

3) While the primer was drying, I chose my scrapbook paper. Then I picked a paint color that coordinated (I have lots of different colors of spray paint on hand). I wanted a contrasting color, so I picked the blue that is in some of the flowers on the paper. And I spray painted away!

4) When the paint was totally dry, I cut the paper to fit inside the tray. Then mod podged it on:

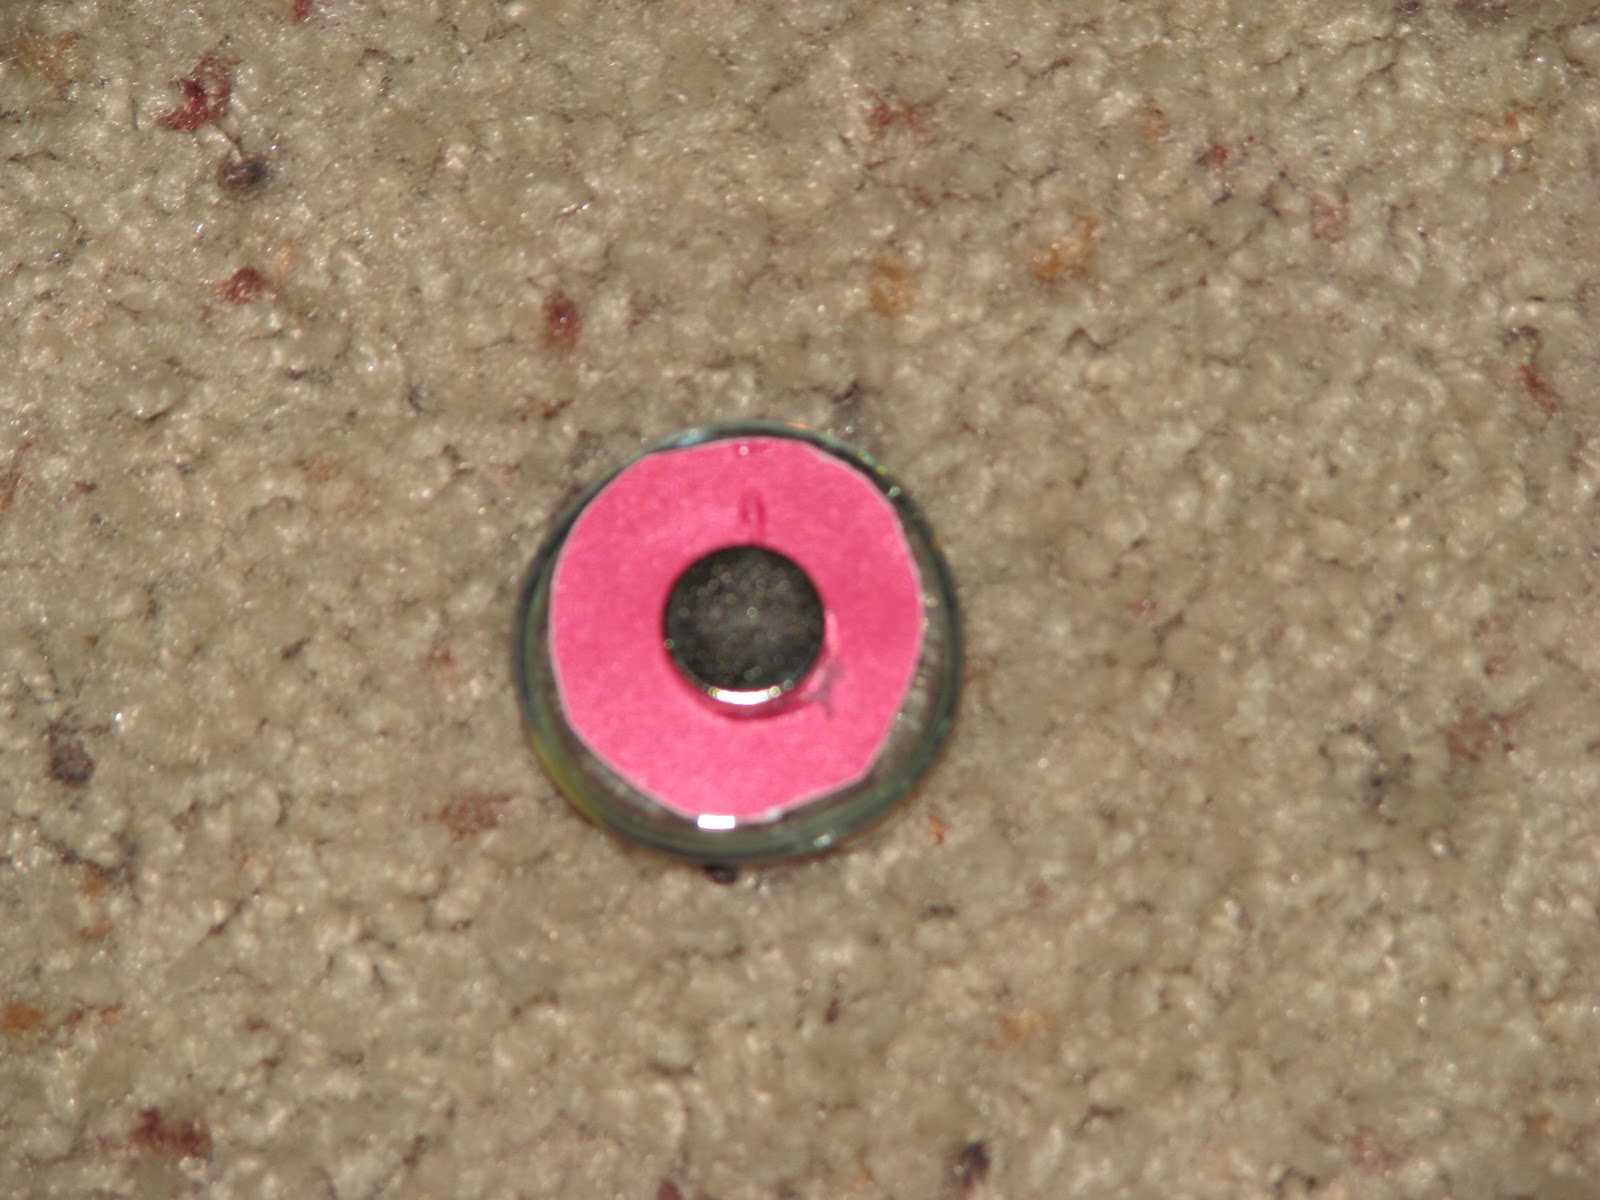
5) Time for the magnets! I got the glass rocks at the Dollar Tree, too, on the craft isle:

6) I used the same scrapbook paper that I used for the tray to make the magnets, so don't throw your scraps away! You just cut the paper slightly smaller than the rock, then hot glue it on. (I wanted to put the letters of her name on the magnets so I had some rub-on letters that I used):

7) Then glue the magnet on!
8) Put the magnets on the mod podged tray and you have yourself a fun magnet board!

9) Now all you need is an easel! If you're giving it away as a gift, add some ribbon or tulle, a little note or picture and you are done!
Want to see the finished product again? Okay!
Want to see the finished product again? Okay!
I hope you enjoyed the tutorial and that I inspired you to make your own!
It was seriously so easy and super inexpensive. And the best part? My niece loved it! After she opened it, we went right into her room to find a place for it - her request!
This project cost me a total of $2.00 (I bought the tray and the glass rocks - I had everything else on hand).
You know what else would be fun? If you used chalkboard paint instead of scrapbook paper on the inside. Then you would have yourself your own dollar store chalkboard! Hmmm, I bet my three -(almost four!)year-old would LOVE that!
Craft away, my friends. Craft away.
You know what else would be fun? If you used chalkboard paint instead of scrapbook paper on the inside. Then you would have yourself your own dollar store chalkboard! Hmmm, I bet my three -(almost four!)year-old would LOVE that!
Craft away, my friends. Craft away.

1 Nuggets of Love:
K, I LOVE this! You are totally Martha Stewart!!
Post a Comment